Showing posts with label pattern. Show all posts

Saturday, January 30, 2016

thirtieth - a giveaway


Oh my goodness you guys there is only one day left in January this year. Which means after this post there is only one post left in my blog-a-thon for this year. And one more day of our summer holidays for this year. Wow! Wasn't New Year's Eve like a couple of days ago, a week at most?

So I guess the most appropriate thing to do on the second last post is to give some stuff away. Just for fun. Kinda like a thank you for coming along for the ride and holding my hand and making me feel like I'm not alone in this crazy uncoordinated dance I'm doing.

The prize is made up of five parts;


  1. My book! It's called Vantastic: Retro holidays in the modern world and it's full of pictures and stories from the caravan trip we took up the centre of Australia and down the west coast a few years ago. There's loads of practical info, craft how-to's, recipes and heaps more fun stuff. If you like caravans and family and adventures - then this book is for you!
  2. That Dotty Angel dress pattern that I bought two of by accident. I still haven't made mine but hopefully you'll get yours off the cutting table, onto the machine and be wearing it before I've even opened the packet and chosen my fabric. And you'll look great in it of course.
  3. A couple of wash-cloths I crocheted.
  4. An apple carry bag that I screen printed.
  5. A copy of Slow Living magazine that includes an article I wrote about craft as therapy and the pattern for the wash-clothes above.
Cool?! Awesome.

To enter leave me a comment below telling me something you think I'd like to know. Simple.

You gotta be in it to win it folks. 


Big love,

Kate

xoxo


Tuesday, August 19, 2014

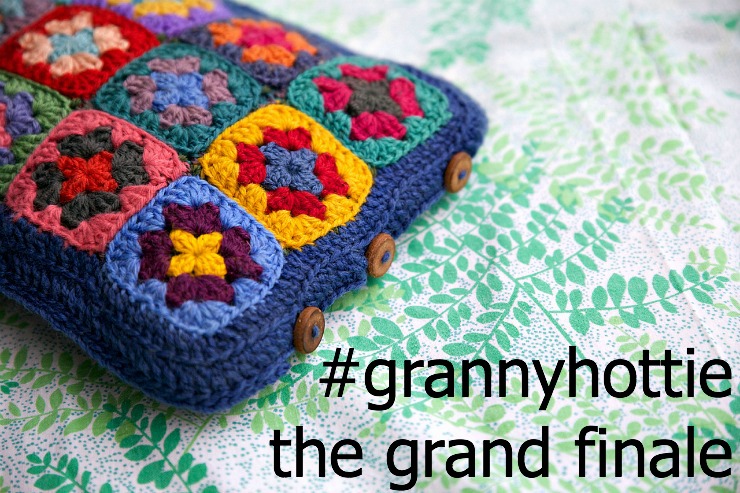
How to crochet a #grannyhottie - the grand finale

IMG_0880
Hello and welcome to this week's edition of the #grannyhottie-a-long.

This week we'll be making a button closure so you can get your hottie in and out of its cover, crocheting the two sides into one and then we'll be making the neck cover.

Sounds like fun! Let's get to work.

IMG_0816
Before we begin step four, if you need to catch up a bit you can find step one here, step two here and step three here.

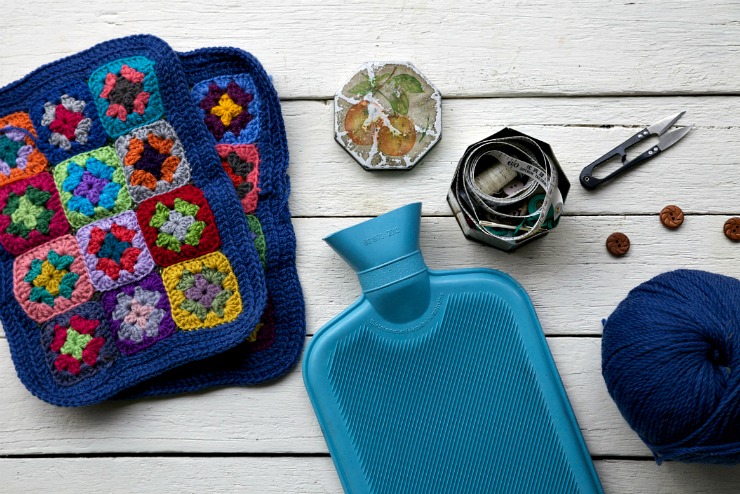
Now for this bit we'll need our two granny square sides, a hot water bottle, a tapestry needle, some snippers, between three and five smallish buttons (1-1.5cm across), your main colour of wool and your crochet hook.

IMG_0824
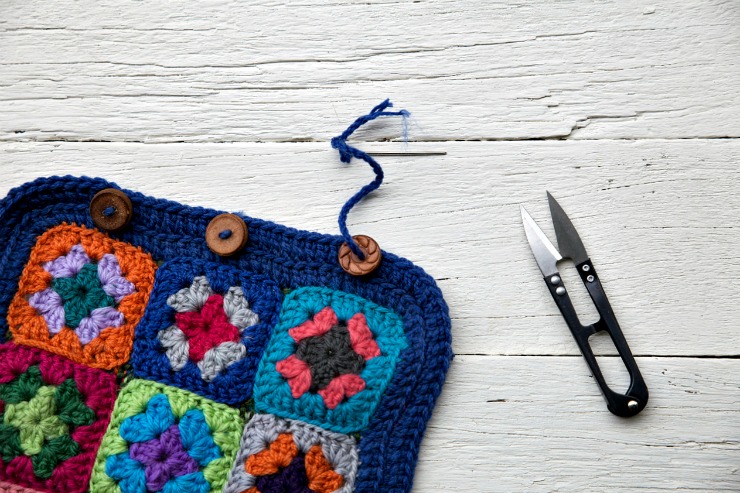
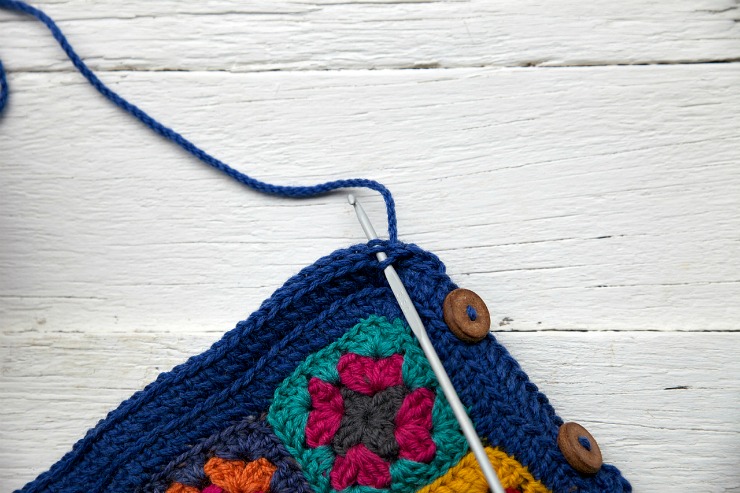
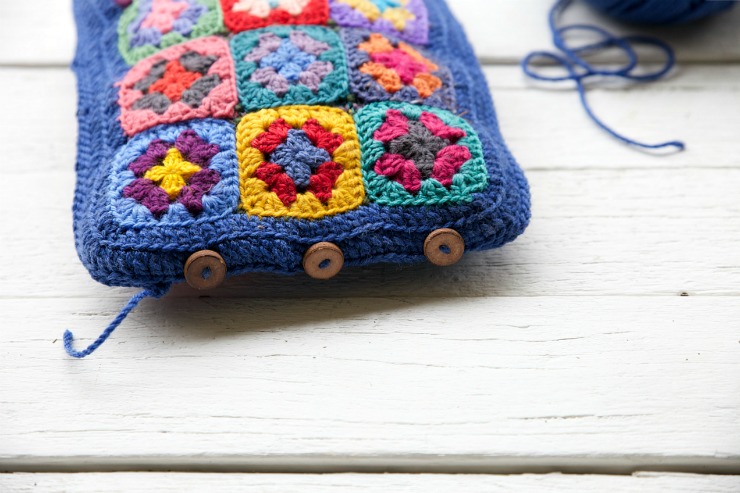
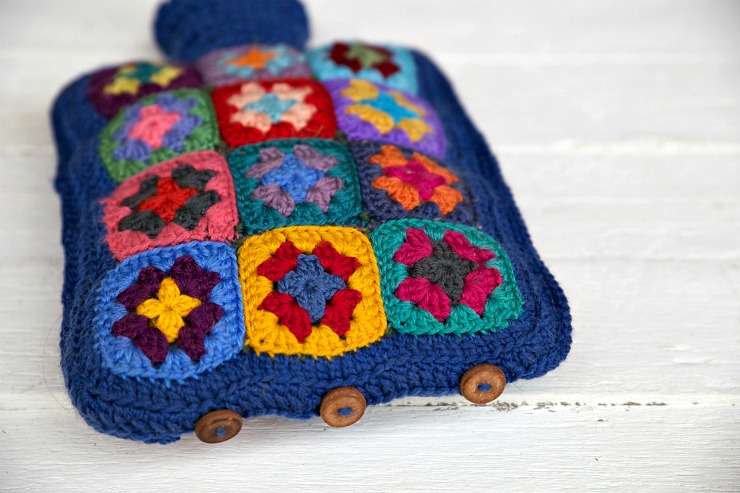
Start by sewing your buttons on the bottom of one of the granny sides. Make sure they are evenly spaced apart, I lined mine up with the middle of each square and make sure they are very close to the bottom of the last row of stitches.

IMG_0826
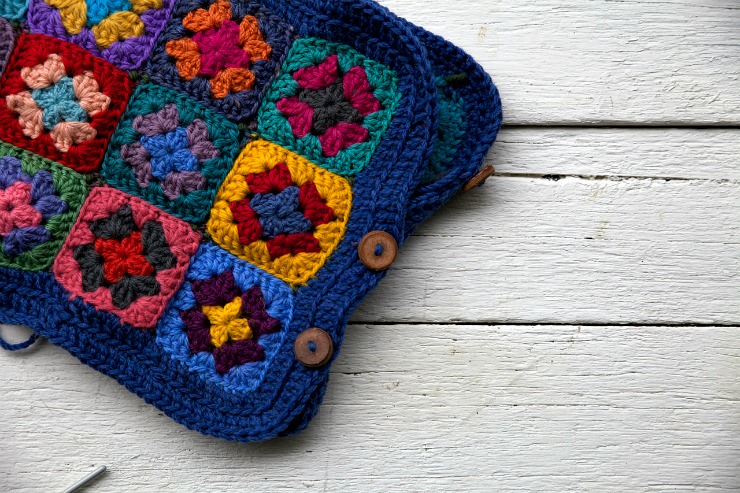
Place your other granny panel on-top of the buttoned panel, wrong sides together, and do the buttons up by slipping them through the last row of dc's on the top. They will probably be tight but will wriggle through.

IMG_0828
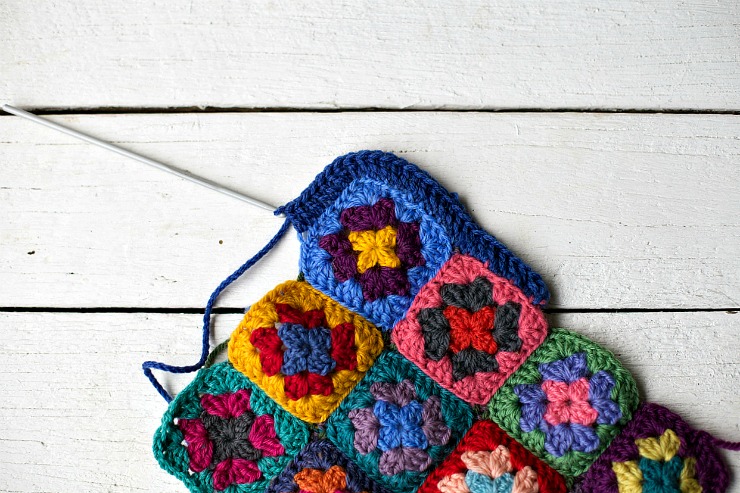
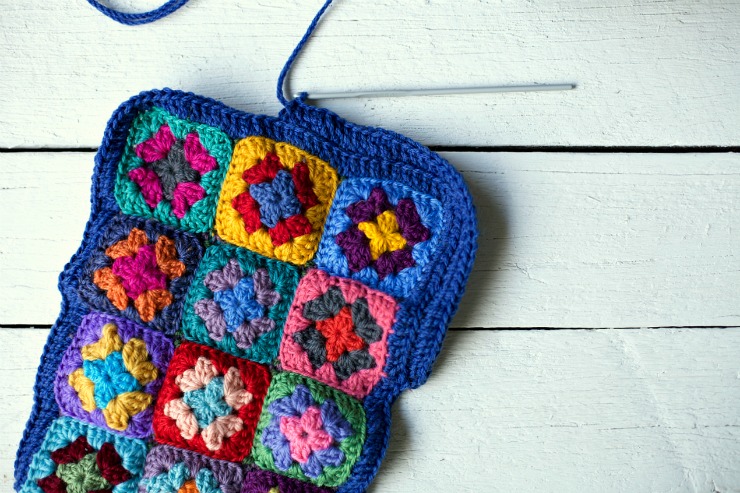
Now we're going to start crocheting the two panels together.

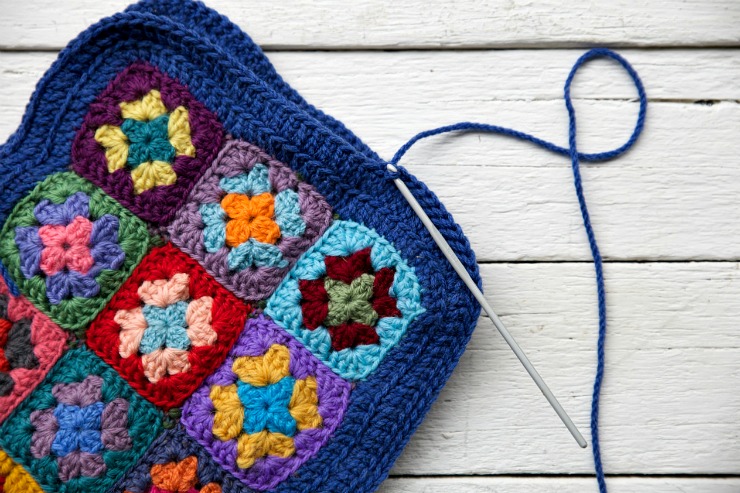
Join your wool a stitch after the outermost button and start crocheting around.

You can use slip stitch, single crochet, double crochet, or even something a bit fancy like a scallop for the joining, whichever you like the look of best. I used singles.

Continue hooking around making sure you crochet two stitches into each corner.

IMG_0832
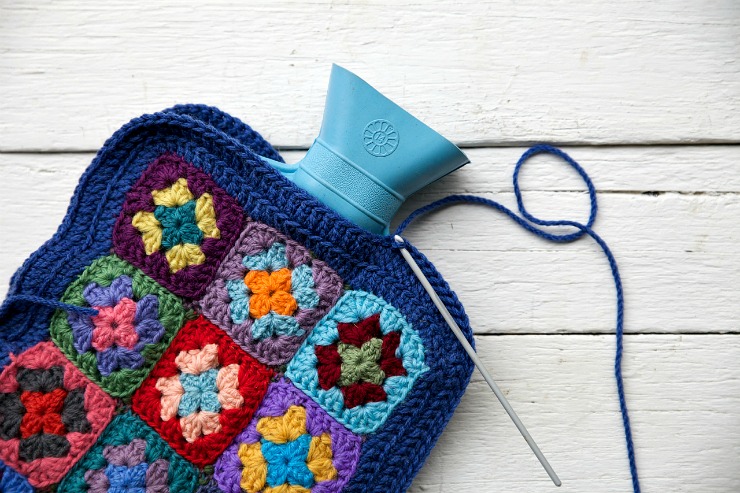
When you reach the opposite side of the cover to the buttons, stop in line with the end of the first square.

IMG_0831
At this point I like to insert my hottie and crochet around it to ensure all the stitches fit it snugly.

IMG_0833
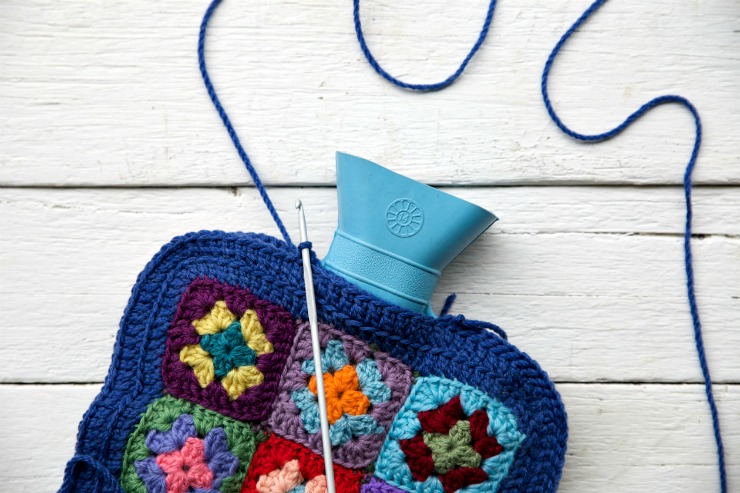
Staring again on the other side of the neck, after the next square, crochet around the other side.

IMG_0837
Fasten off one stitch before the first button.

IMG_0836
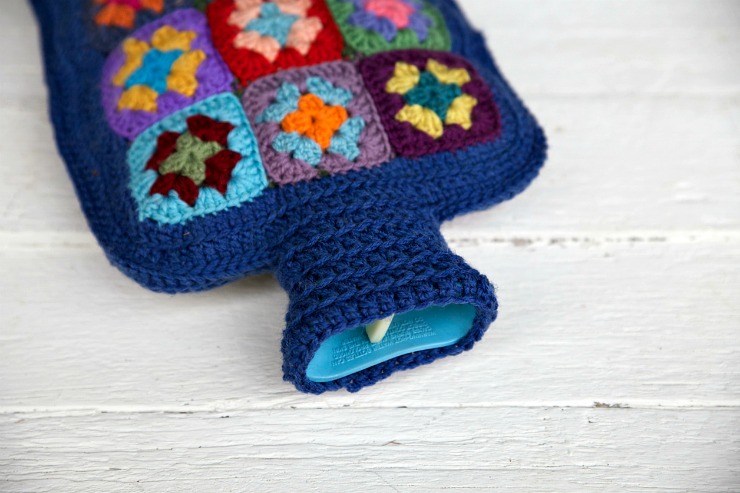
Now you have a clothed hottie with a naked neck sticking out!

IMG_0844
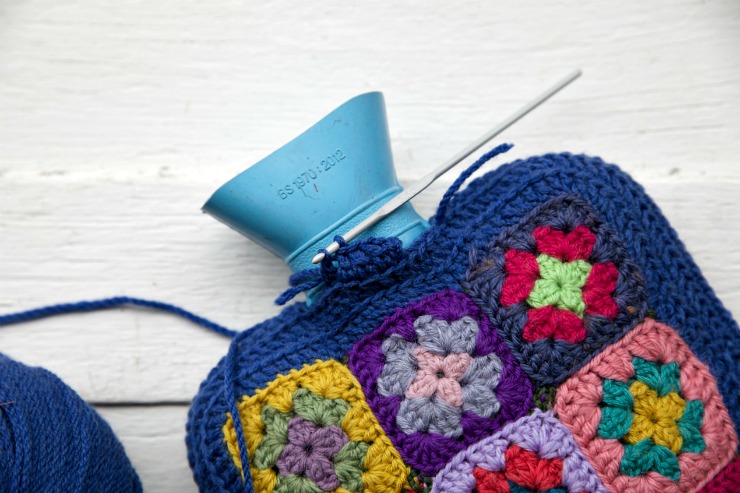
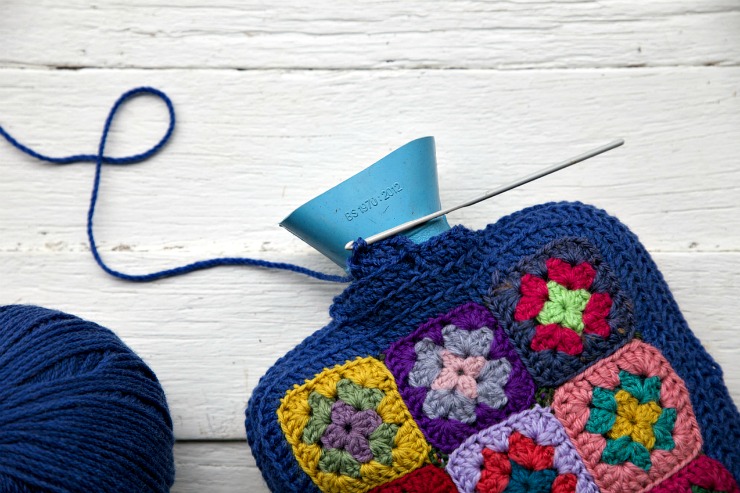
Join your yarn to one of the stitches in the row below, chain three and then start double crocheting your way around the neck. If it looks like there's a gap when you get to the side you can add an extra stitch or if it feels too loose, you can decrease a stitch.

IMG_0845
When you get all the way around to the start, slip stitch into the third chain.

Then chain three and work your way all around the neck again.

IMG_0852
Continue like this until your neck is covered. I did five rows.

Purely as a guide only;

  • my first row had 28 stitches.
  • I decreased one stitch on either side of the second row making 26 stitches.
  • my third row had 26 stitches.
  • I increased a stitch on either side of the fourth row making 28 stitches.
  • I increased a stitch on either side of the fifth row making 30 stitches.


After you have finished crocheting the neck, darn in all your straggly ends.

IMG_0854
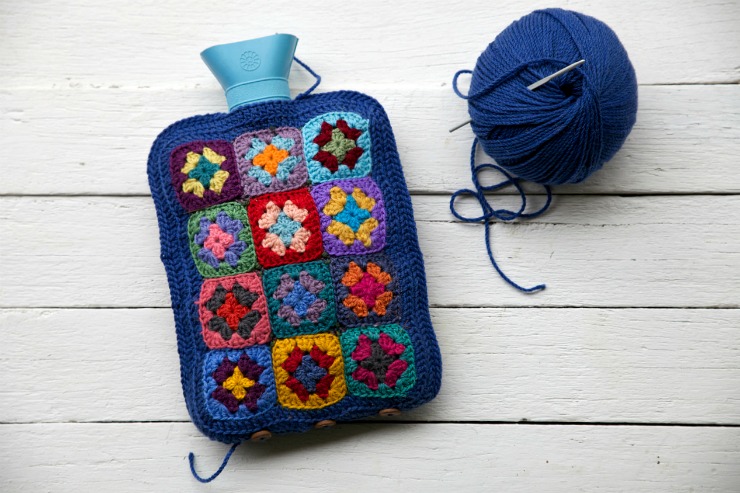
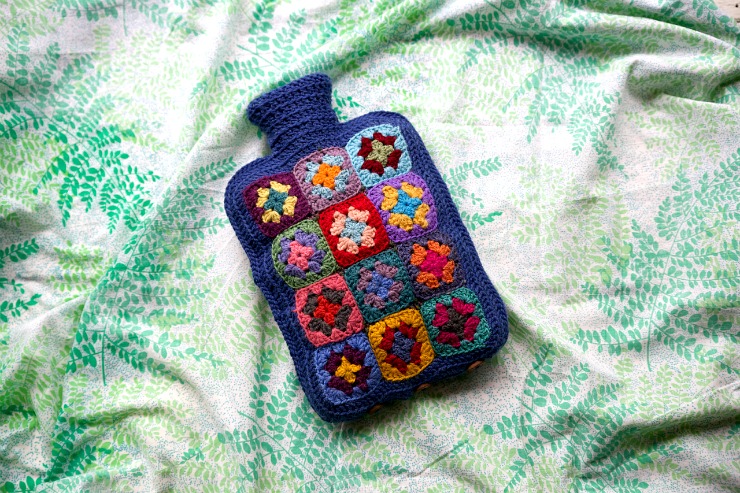
And look at that, you're all done!!

You have finished your #grannyhottie

Yipppeeeeeee!!!!!!

IMG_0885Now all that's left is to fill it up with hot water and jump into bed!!!

Ahhhhhh doesn't that sound like heaven.

If you've been grannyhottieing-a-long please share your pictures with us on instagram using the hashtag #grannyhottie. I can hardly wait to see how great yours all look.


Big love, happy grannies and toastie tootsies.

xx


Tuesday, August 12, 2014

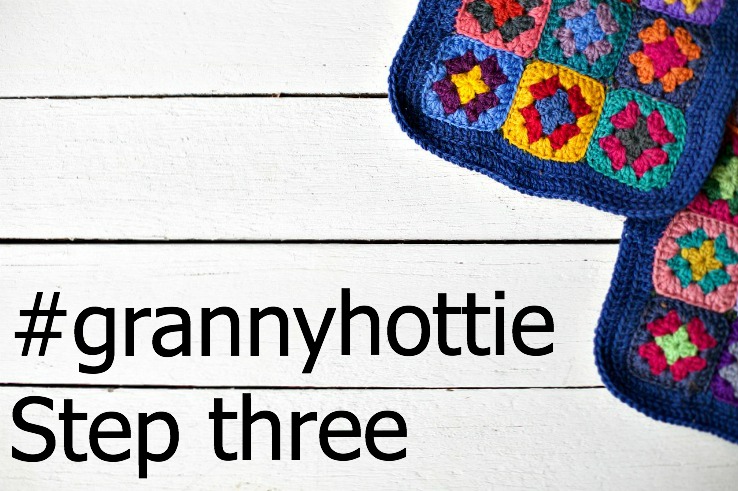
#grannyhottie step three

IMG_0727
Hello it's Tuesday again!

I know, I can't quite believe it either.

But never fear, step three of the granny-hottie-a-long is here!!!

Hooray!!!!!

IMG_0697
If you're running a little late to the hottie party, you can find step one here and step two here.

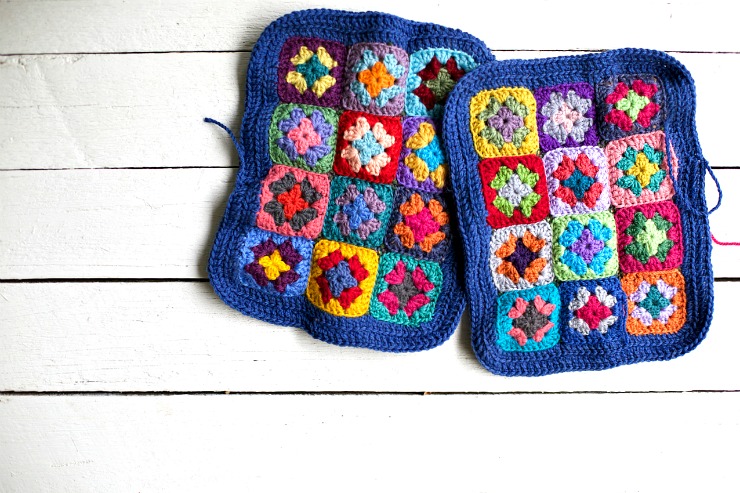
OK let's get started, for this step you'll need your granny squares all joined neatly into a front and a back.

IMG_0700
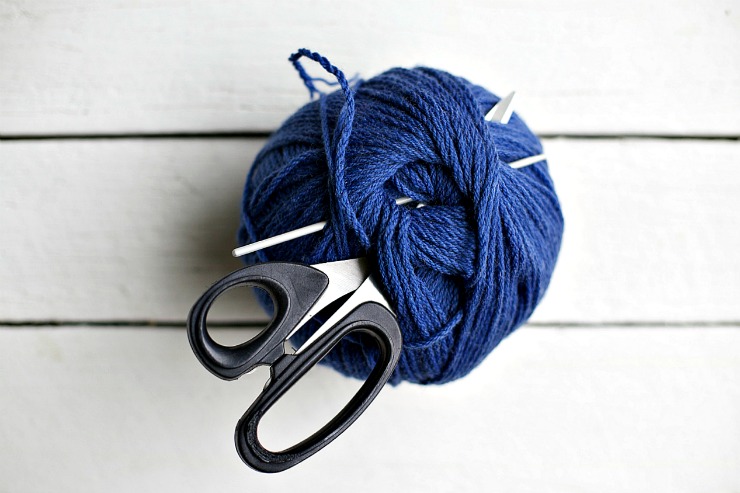
You'll also need your crochet hook, a pair of scissors and your main colour of wool.

IMG_0703
Now for the fun stuff.

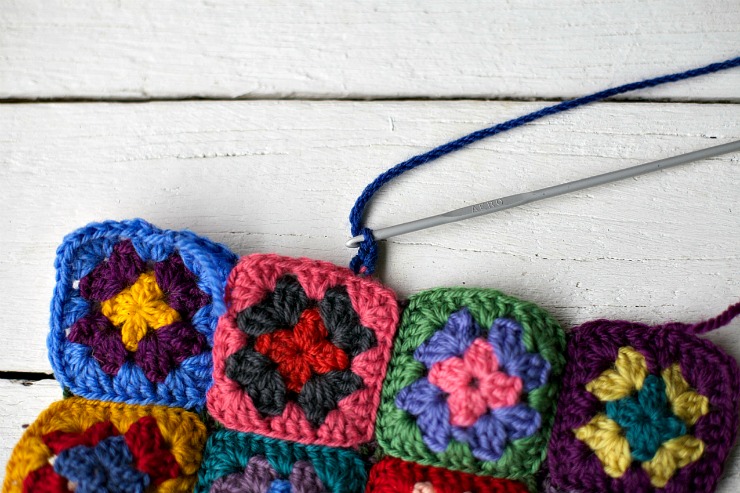
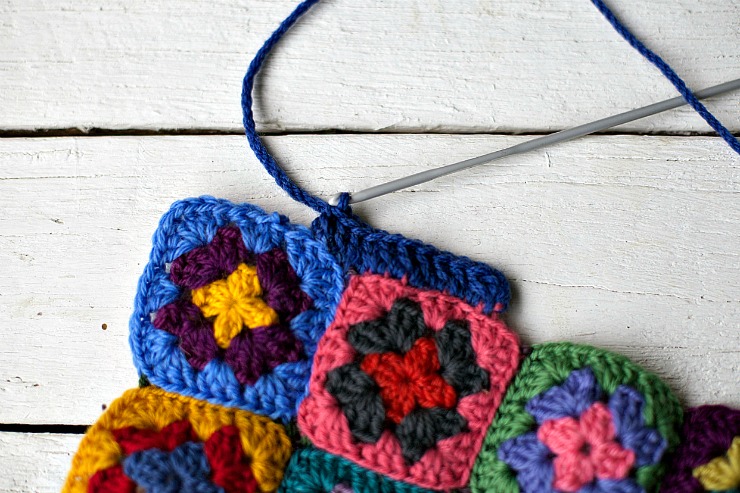
Starting anywhere you like on the front part of your hottie cover, join your wool to a back loop and chain three.

IMG_0706
Then make a double crochet stitch into the back loop of every single stitch along the row. This pattern is pretty forgiving so don't worry too much if you get confused and crochet a stitch too many here or not enough there.

(Remember I am working in US crochet terminology, conversion chart here).

IMG_0708
When you reach the corner make two double crochet stitches into the corner stitch and keep going along the next side.

IMG_0709
When you reach your first double crochet stitch, make a slip stitch into the third chain stitch you started with.

Then chain three stitches and double crochet in the back loops all the way around the outside of the front panel of the hottie making sure to crochet two stitches into the corners when you reach them.

IMG_0724 Once you have finished the second row of stitches, fasten off and repeat for the back of the hottie.

And there you have it, the front and the back of your hottie cover. Well done!!


I was planning to go a little further and join the two panels this week but;

a) I ran out of time

b) I'm loving this hottie-a-long and want to stretch it out so it lasts a little longer

c) I found out that some people like to be able to take their hottie out of its cover and therefore need a cover that opens and closes and that's thrown me.

d) I have become OBSESSED with sock knitting and all my spare crafting time has been sucked up by the sock.


The answer of course is all of the above. The quiz of course is because I finished Gone Girl and loved it.

Let's meet up here for step four next Tuesday Ok?

In the meantime we can chat about our granny hotties in the comments here, on Facebook here, and we can share photos on instagram using the hashtag #grannyhottie.


Happy grannying!!

Love Kate xx


Tuesday, August 5, 2014

#grannyhottie part two

IMG_0645
Hello and welcome back to the granny-hottie-a-long.

Today we'll be moving right along to step two, but if you missed step one never fear you can find it here. Yay!

IMG_0601
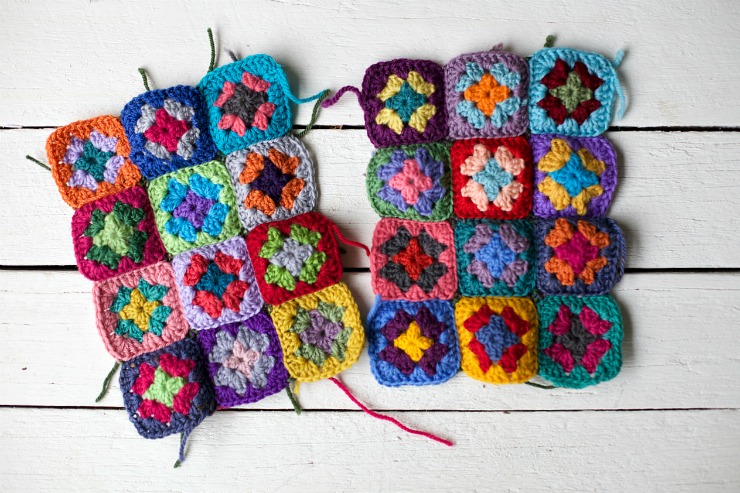
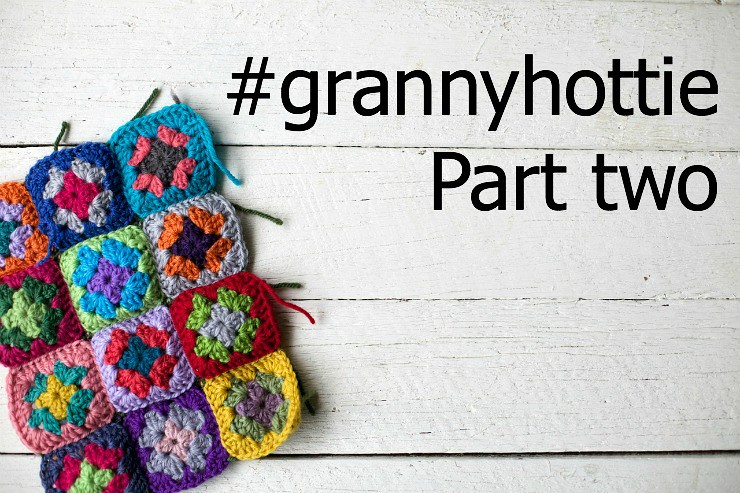
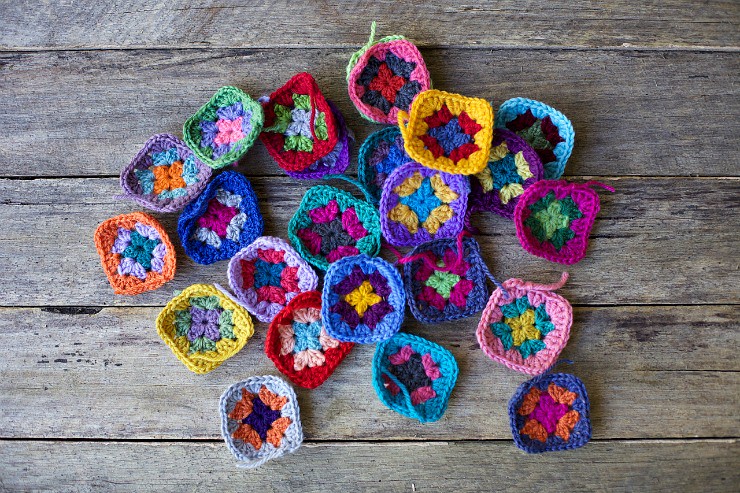
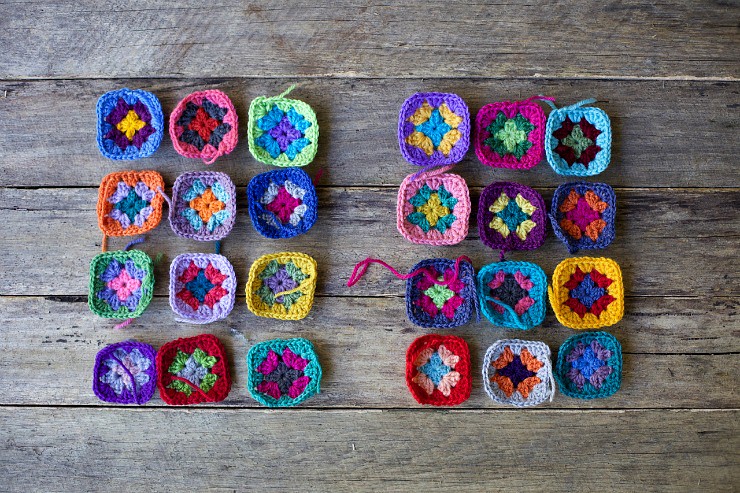
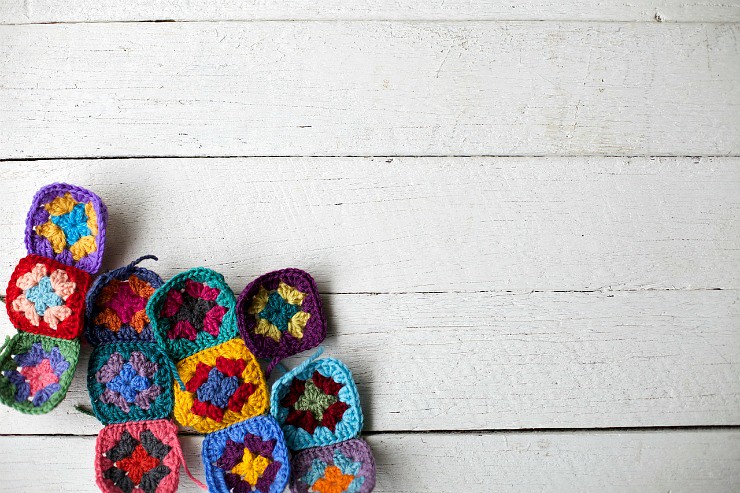
Today we are going to start with your pile of 24 cute little grannies.

Some people have smaller hot water bottles so they are going to start with their pile of 18 or maybe even 12.

IMG_0607
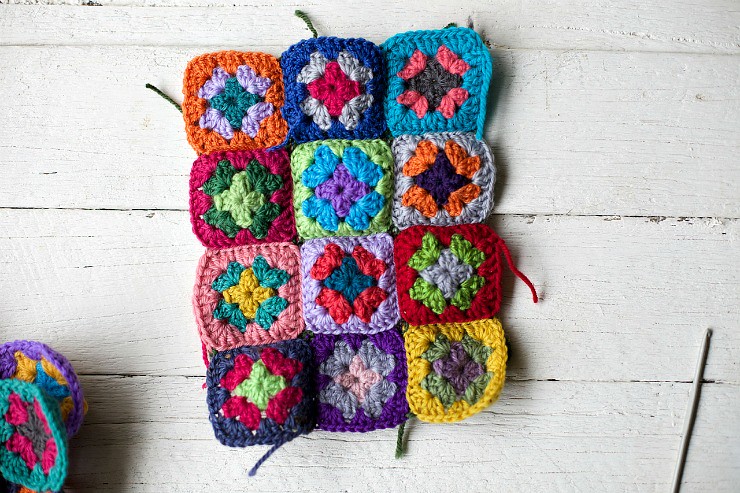
Divide your pile into two, half for the front of your hottie cover and half for the back.

Then arrange and rearrange your granny squares until you have a colour order that is pleasing to your eye.

IMG_0647
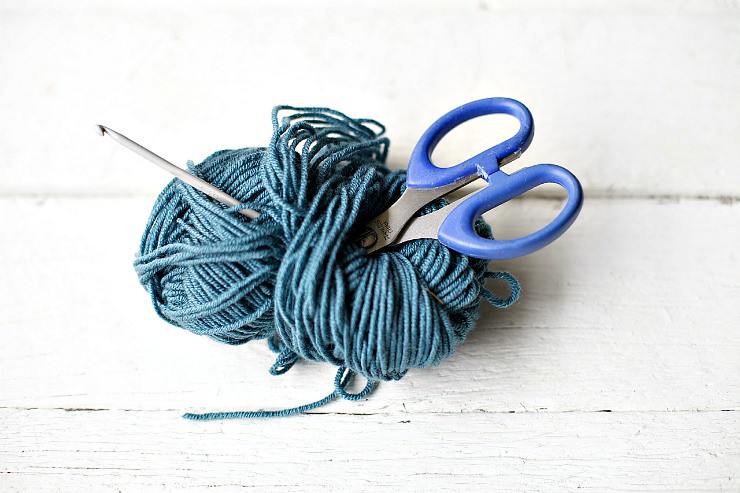
After that gather your crochet hook, your scissors and a ball of yarn to crochet them all together with.

IMG_0636
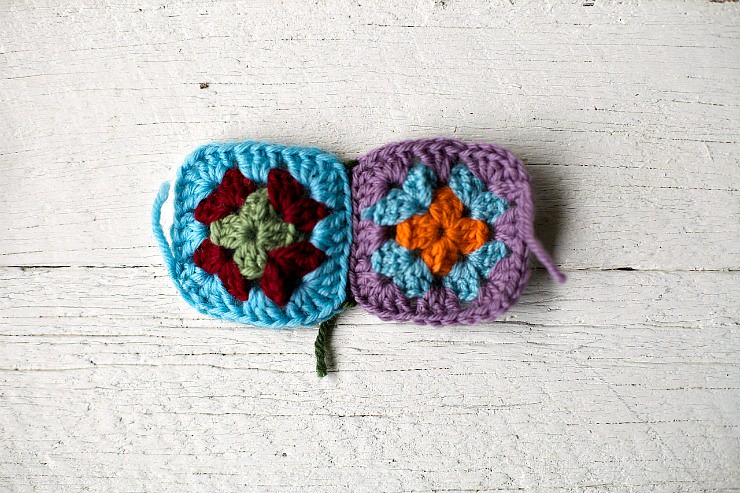
Start by crocheting two mini grannies together through the back loops.

Gorgeous Lucy over at Attic24 has a brilliant and easy to follow tutorial over on her blog if you need a bit of help with how to do this.

IMG_0639
After you've joined two grannies, go ahead and join three.

IMG_0631
Then join them all into rows of three.

IMG_0643 And then join those four rows of three all together into one piece.

Great job!! You're half way through step two.

Now go back to the top and follow along to crochet the other 12 grannies together.

Once you've made your front and your back you can darn in all your ends by threading them onto a needle and tucking them through a few stitches on the back and then snipping them off.

And that my friends, is step two done and dusted.

I'll see you back here next Tuesday for step three.

In the meantime we can chat about our granny hotties in the comments here, on Facebook here, and we can share photos on instagram using the hashtag #grannyhottie.

Happy grannying!

Bye!!

x

Tuesday, July 29, 2014

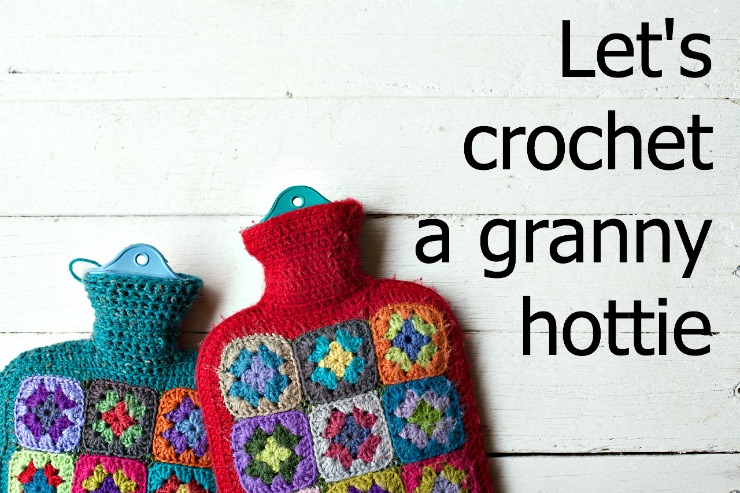
Let's crochet a granny hottie!

IMG_0579

I've got a great idea!

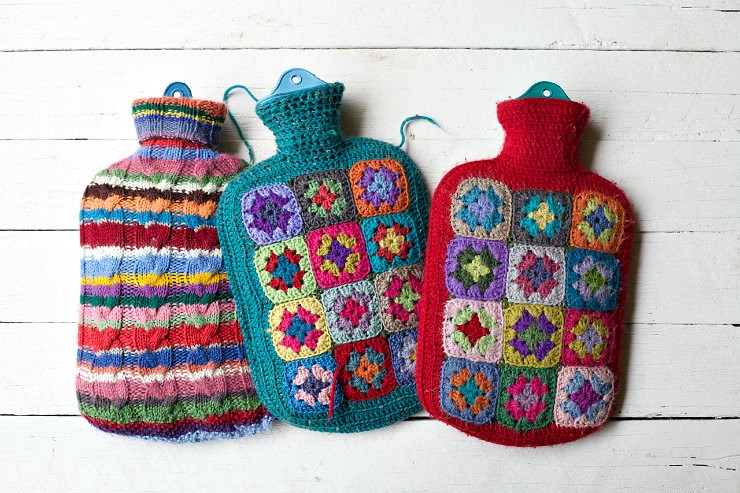
Somehow I've found myself in a bit of a crocheted granny-square, hot water bottle cover marathon, and before I get going on my fourth one, I thought you might like to play too.

We could have a bit of a granny-hottie-a-long. How fun does that sound, not to mention snuggly and warm too.

I'm sure you've got lots of stuff going on in your lives so we'll take it pretty slowly, maybe a step a week, and that way we'll all have lots of time to keep up.

What do you think? Are you in?

IMG_0586

Just a few things before we get started;

Firstly, I'm going to assume a little bit of crochet knowledge here, but at any stage if you get stuck, or if you are crocheting for the first time, ask google, ask me, or ask in the comments and together I'm sure we can work it out.

Secondly, I'm going to be working in US crochet terminology.

Thirdly, I've been making these up as I go along, but if you feel like you'd like to change things up or do things your own way - go for it.

Yay!! Should we start?

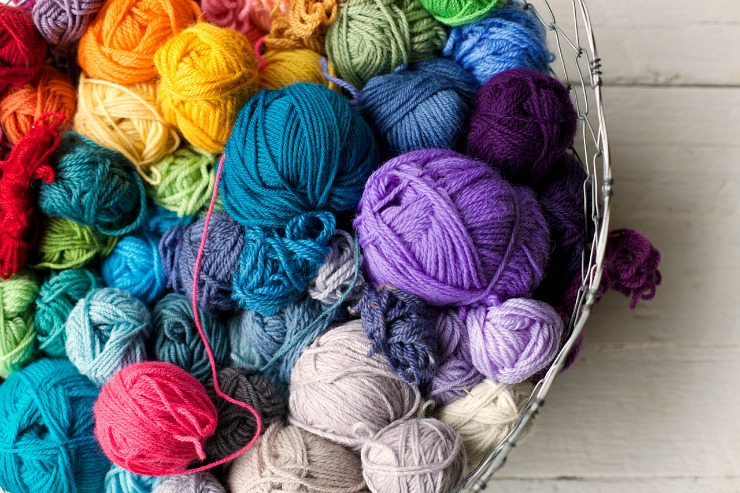
The first thing we'll need to do is gather our supplies and the most important supply of all is YARN. I'm using 8ply wool left over from other projects. This is a wonderful way to use up all those rolly-polly odds and ends.

IMG_0581

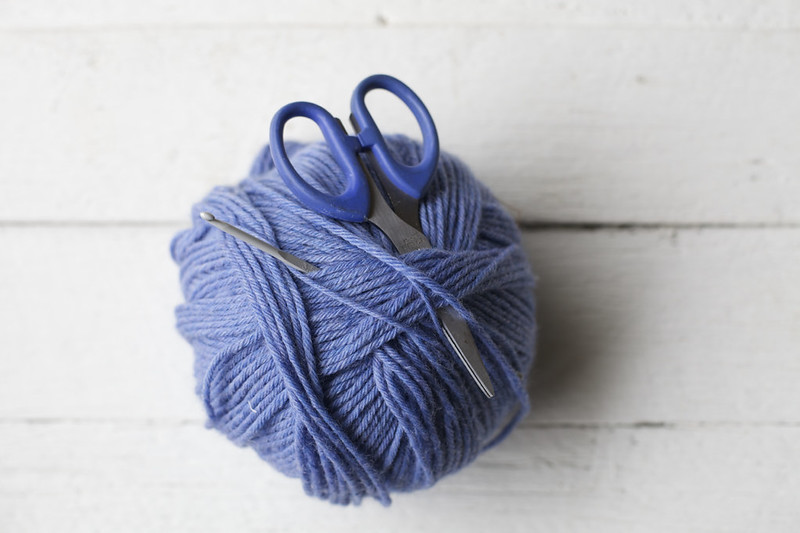
Next up we'll need a crochet hook. I'm using a 3.5mm because I like the size of the stitches it makes but feel free to experiment. We'll also need sharp scissors for snipping, a darning needle for those perky ends and a larger ball of wool for your main colour (i.e. the edging and neck). And of course we'll need a hot water bottle.

IMG_0582
And now for the fun bit!!

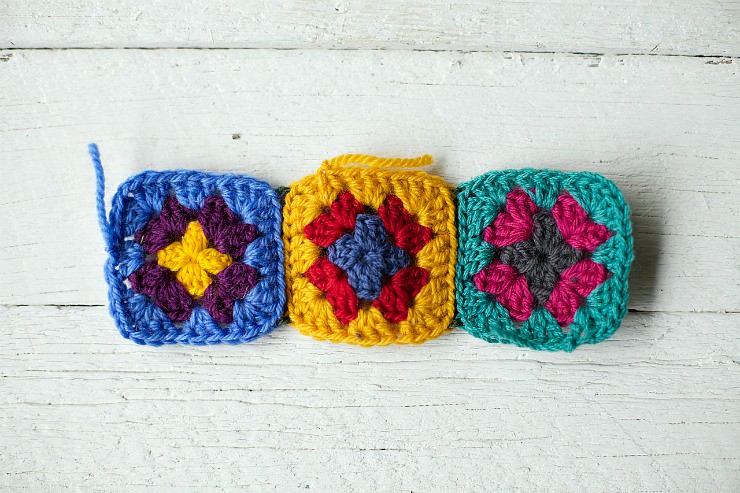
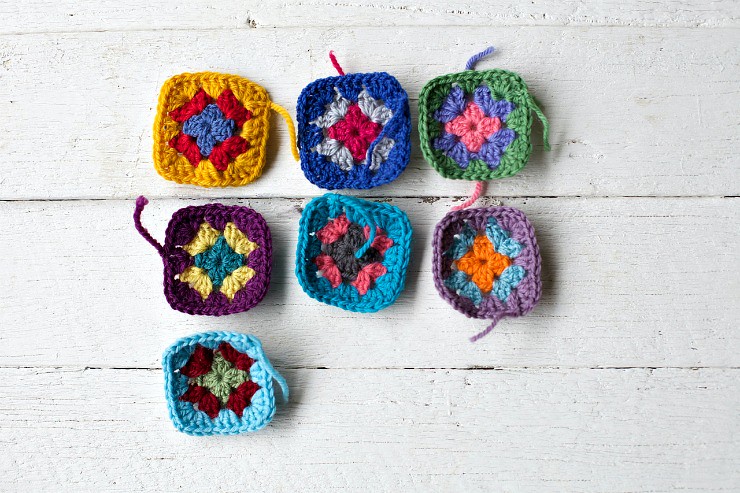
Using your yarn and your crochet hook, hook up 24 granny squares using dc's and chains. Remember these granny squares are a bit mini so stop each one after three rounds. When choosing colours, be as wild or as monochrome as you like.

I like to crochet over the tail of the last colour I used as I go (there are plenty of tutorials online), but if that sounds too hard, don't worry about it at all.

I guess the other thing is joining as you go but I like to lay them out at the end and choose where each one will go before joining.

IMG_0576 And that's step one all done. Yay!

Let's meet back here next Tuesday for step two.

In the meantime we can chat about our granny hotties in the comments here, on Facebook here, and we can share photos on instagram using the hashtag #grannyhottie (I've checked - there are not hot grandma pics - it's safe).

I'm excited - let the grannie hottie begin!!

Just think how much your cold winter toes will love you.

Bye!!

xx


Thursday, November 8, 2012

Knitting fans.

I am such a sucker for a beautifully styled 'how to' book. I don't care if it's a knitting, gardening, sewing, cooking or crochet book, if it has gorgeous photos and instructions, I am in.

I found this gorgeous book a few months ago in Melbourne. It was love at first sight. Gorgeous hard back, stunning photos, and perfect projects and patterns sized to fit two of my girlies. I pored over its pages for ages. Front to back, back to front. I tried to work out how many of the patterns I was likely to actually knit and for who and with what yarn.

And then I popped it back on the shelf between the other knitting books and walked away.

I really didn't need anther knitting book. I have hundreds of items in my ravelry queue and hundreds more in my head and in books I already own. And most importantly, I am not a fan of the seamed knit and that is what this book is full of.

But over the next few days I couldn't get that book and those patterns and that style out of my head. I longed for it.

And as luck would have it on the way home to Daylesford a few days later, we stopped in at a book shop/cafe for lunch and there it was, sitting on the shelf, patiently waiting for me. It was meant to be. And I promised myself I would knit from it often to justify my purchase, seams and all.

So the second I cast off what I was working on, I chose a pattern, some wool and cast on.

A much wanted and needed cardi for Miss Jazzy. Wool and pattern chosen herself.

And to be honest, the pattern was incredibly difficult for me to follow. There were not enough instructions and I found myself guessing and unravelling and re knitting a lot of the time. There may have been some swearing too.

But I persevered. I had a bee in my bonnet about that book. And that pattern. And the way my Jazzy would look wearing it.

And then finally one day after knitting the four bits and sewing them together. After crocheting all around the entire garment. And after blocking it lightly with a steam iron. Miss Jazzy tried it on...

And she couldn't move.

Even though I had knitted a size older than she usually measured, it was so tight across the back and under the arms that she struggled to even get it off.

All I can say is lucky Miss Pepper was more than happy to try it on.

Phew!

I think I'll stick to knitting in the round so we can actually try the garments on as I go in the future. And I think I'll knit Jazzy's next cardi from a pattern from a designer I know and have knitted before.

Fan Stitch cardi ravelled here.

Are you a sucker for a styled book?
Which type of book can you never resist?
Are you having a lovely day?
Are you being creative?
I hope so.

Later lovelies. x

Saturday, July 28, 2012

wool, wool, more wool & a pattern.

I guess a big part of the fun of any hobby, craft, passion or profession is putting together your kit. Researching, hunting down exactly what you want, building your stash and then maintaining it all so it is there for you any time you want or need it.

Like a cook and her ingredients, a musician and her instruments, a hunter and her knives, a runner and her shoes...like a knitter and her needles, patterns, buttons and wool.

As a knitter my idea of heaven is being able to knit whatever I am inspired to knit and having exactly what I need at hand to knit it. That means lots of needles of different sizes and lengths, wool in colours that we like to wear and enough metreage for anything from a hat right through to a women's cardigan.

I cannot believe it's been over a week and I still haven't shown you the delicious yarns I bought at the Australian Sheep and Wool show.

I loved every second of the shopping. The sheds full of stalls of colours, textures, and all sorts of wools. The different brands I'd heard of but never fondled. And the ideas and inspiration and loveliness. I found the most gorgeous 8ply merino wool at Yellow Cat (the grey and the blue above) and the Craft Circle (the green).

I bought all the wooden buttons I could find at the button stall. Gosh I adore wooden buttons. Now I just have to find the perfect patterns to show them off.


I bought Wooli, the recycled wool above, off some lovely women with a crafty shop in Brunswick street.

It's made in New Zealand using all the scraps off the factory floor; wool, alpaca, silk, cashmere, possum. It's deliciously soft and Indi has already claimed it for a loose knit cowl.

I also bought a few cheap one kilo bags of Pear Tree yarn. Gorgeous colours and just so terribly soft. But they are in their plastic bags and I don't want to take them out until it's time to cast on. And shiny plastic doesn't photograph all that well does it.

And lastly, we bought a couple of skeins of the most divine chunky sofTrope hand spun for farmer boy's beanies. 

My farmer boy wears a beanie every single day and is very particular about what he likes and what he doesn't. He spent a while choosing the colours, chatting with the spinner and then describing the pattern to me.


When we got home, I wound the first skein into a ball immediately. Then I found the largest circular needles I own (6.5) and casted on 64 stitches (the tram we used to catch from our childhood home into the city).

Then I knit, knit, knitted for a few hours and it was done. Speedy!! Gosh I love the chunky stuff.


In case you'd like to make your own Farmer Boy Beanie...

Cast on 64 stitches.
Join in the round.
Knit 2, purl 2 rib for about 20cm.
Decrease rounds.
1) Knit 2, purl 2 together. (48)
2) Knit 2, purl 1. (48)
3) Knit 2 together, purl 1. (32)
4) Knit 1, purl 1. (32)
5) Knit 2 together. (16)
6) Knit around. (16)
7) Knit 2 together. (8)
8) Thread the tail through all of the remaining 8 stitches.
Pull tight. Fasten off.
Darn in ends.

And please let me know if you make one, I'd love to see.

He loves it. He has barely taken it off since I cast off.

So that's me and my treasures.

I hope you are having a lovely weekend.
Are you?
Do you have anything exciting planned?
What are you making/baking/growing/going/reading?
Have you added to your stash lately?
Do you agree that the stash building can be just as much fun as the craft itself?

Bye! x

ps. I'm on The Country Style blog!!
eeeeeeeeeeeeeeeeeeeeeeeeeeeep!!!!!

Visit my other blog.